
Using Sass with Django

Ronald Langeveld
software engineer, loves building things, enjoys node, ruby, react, django.
Quickstart - Check out the Repo on Github
After nearly 2 years of almost exclusively building frontends with ReactJS, I decided to give full stack Django a visit again. I needed to build a simple & stable CRUD application and figured, going the SPA (Single Page Application) route will be perhaps a touch overkill, especially considering I need to write backend and frontend seperately.
When I left Django first, I was still using using CDN’s to load css libraries like Bootstrap and Bulma directly. Then when I moved to React I gradually learnt how to use Sass and custom variables with these libraries, instead of just completely overwriting them with custom CSS.
Now that I gave Full Stack Django a revisit, meaning I’ll be using the built in templating to render the frontend on the server, I quickly realised, you don’t simply import a .scss or .sass file like you would with regular css, and even less like you would with React.
So how do you do it?
After quite a bit of googling, I was ready to give up and head back to React…. every tutorial have it’s own way of doing something, some even outdated and not compatible with latest Django version… Till I started combining and simplifying what the tutorials want you to do and figured it’s actually kinda easy… So here’s my way of doing it:
I’m going to assume you have Django setup and very much assume you have experience using the terminal, have Python installed, etc.
Also, if you don’t have it, install NodeJS as well, will make downloading css frameworks a touch easier.
I’ll just be using a simple straight forward configuration, you might have to tweak a bit to match your stuff.
Using MacOS Catalina.
# go to your directory
$ cd projects/django
# create virtual environment
$ python3 -m venv venv
# activate virtual environtment
$ source venv/bin/activate
$ pip install django
$ django-admin startproject myapp
$ cd myapp
$ python manage.py startapp home
If that went successful, you’re exactly where I am. Nothing complex, nothing fancy.
Whilst in your myapp directory, create a staticfiles folder, mkdir staticfiles as we’ll need it later.
Now open the project in your code editor. I’m using Visual Studio Code.
Head to your settings.py file and you should be seeing something like this:
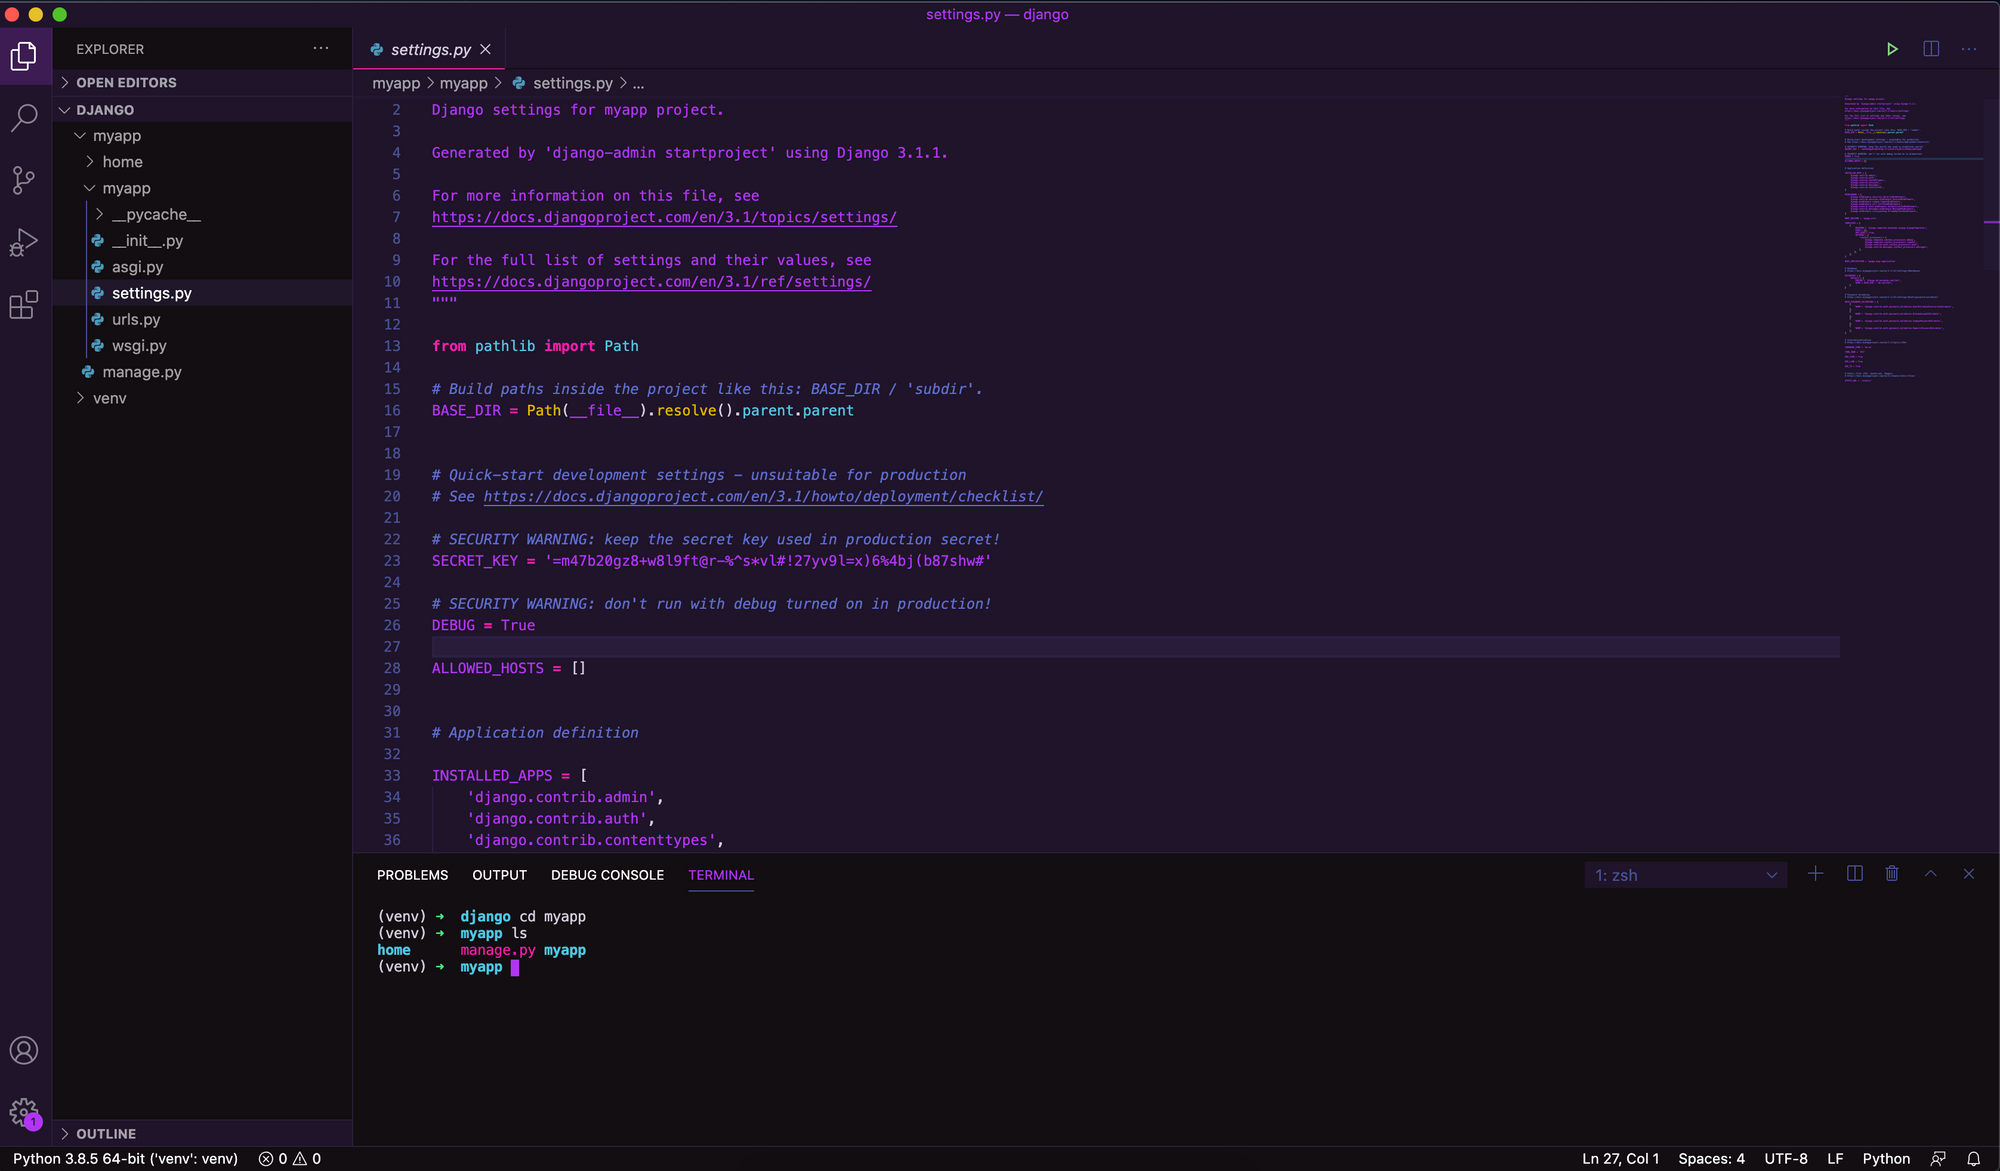
Great!
I added 'home' to my INSTALLED_APPS in the settings file.
For illustration purposes, I’ll be creating a templates folder inside the home folder as well as urls.py.
Inside templates, I’m creating index.html and add basic html meta as follows.
<!DOCTYPE html>
<html lang="en">
<head>
    <meta charset="UTF-8">
    <meta name="viewport" content="width=device-width, initial-scale=1.0">
    <title>Hello World</title>
</head>
<body>
    <h1>My App Tutorial</h1>
</body>
</html>
Open up the views.py file and create a little function to serve the index.html file you just created.
from django.shortcuts import render

# Create your views here.

def index_page(self, request):

    return render(request, 'index.html')
Now time to setup the routing.
Open the urls.py file you made inside the home app folder and add the following:
from django.contrib import admin
from django.urls import path
from . import views
urlpatterns = [
    path('', views.index_page, name="indexpage"),
]
Of course, you now have to link the urls.py inside the home app folder to the main router located in myapp url.py.
from django.contrib import admin
from django.urls import path, include

urlpatterns = [
    path('admin/', admin.site.urls),
    path('', include('home.urls'))
]
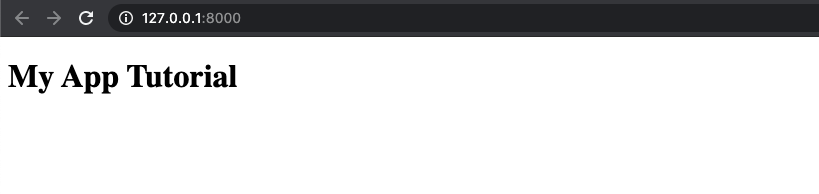
Basic Django Development Environment Configuration is done, lets test it out by running $ python manage.py runserver.
If that’s successful, head to http://127.0.0.1:8000/ and you should be able to see a page looking something like this:
Now lets get to the fun part. Make sure your terminal is still open, you’ll be using it.
Let’s start with the dependencies.
After trying many dependencies, I found Django Compressor to be the leanest and does exactly what I need with quite an easy configuration.
$ pip install django-compressor
Then inside settings.py, add 'compressor', under your INSTALLED_APPS.
After saving the settings file, you may have encountered that your terminal running Django freaked out along the way with an error that looks something like,
raise ImproperlyConfigured('COMPRESS_ROOT defaults to ' django.core.exceptions.ImproperlyConfigured: COMPRESS_ROOT defaults to STATIC_ROOT, please define either
Don’t stress about it - we’ll fix it just now.
Now that you have that installed, you will still need something to handle the Sass files. For that we’ll be using django-libsass
$ pip install django-libsass
Remember the staticfiles folder we made earlier? Head to that folder and create a new file called main.scss.
For this tutorial, I’ll be using the Bulma CSS Framework. But it should work just fine with most other css frameworks, like Bootstrap, Tailwind, etc.
Inside the staticfiles folder I run npm install bulma.
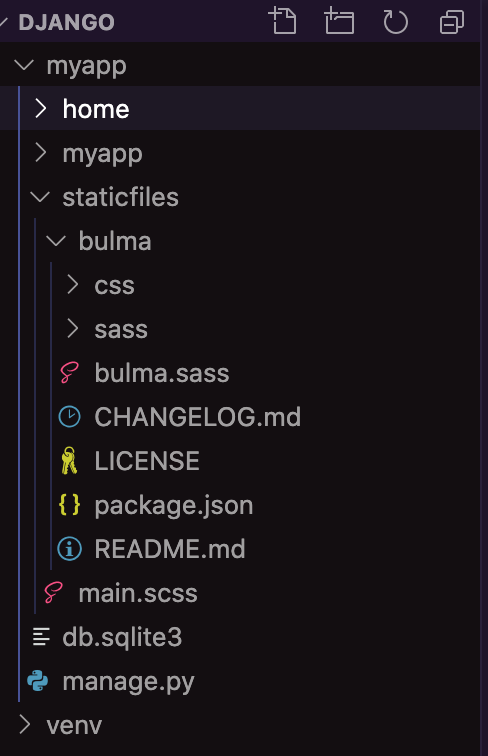
You’ll notice a new node_modules folder got generated. Inside that one is another folder called bulma. Copy the bulma folder into the root of your staticfiles folder and delete node_modules.
Hint, if you don’t want to use NPM you can download it directly from the repository as well. Just ensure it includes the sass folder.
Great. Now your project’s structure, specifically staticfiles folder should look something like this:
Let’s open the main.scss file with your editor and import bulma,
@import './bulma/bulma.sass';
Now we can finally head back to our index.html file and load the main.scss.
You know how you add regular static files?
{% raw %}
{% load static %}
<link rel="stylesheet" type="text/x-scss" href="{% static '/main.scss' %}" />
{% endraw %}
This is not going to work. We will have to make use of our new library, Compressor. Add the following undernear the static loader tag,
{% raw %}
{% load compress %}
{% endraw %}
and then, you wrap {% raw %}{% compress css %} {% endcompress %} {% endraw %} around the link that loads main.scss .
Here’s the full snippet:
{% raw %}
{% load static %}
{% load compress %}
<!DOCTYPE html>
<html lang="en">
<head>
    <meta charset="UTF-8">
    <meta name="viewport" content="width=device-width, initial-scale=1.0">
    <title>Hello World</title>
    {% compress css %}
    <link rel="stylesheet" type="text/x-scss" href="{% static '/main.scss' %}" />
    {% endcompress %}

</head>
<body>
    <h1>My App Tutorial</h1>
</body>
</html>
{% endraw %}
Awesome! Now refresh the page!!! Oh right, we still have to fix that error from earlier….
Let’s head back to the settings.py file.
Head to the very bottom of the page and you’ll see a static files section that looks as follow:
# Static files (CSS, JavaScript, Images)
# https://docs.djangoproject.com/en/3.1/howto/static-files/

STATIC_URL = '/static/'
Okay, you’ve found it.
Now let’s replace that whole section with the following, and save.
COMPRESS_PRECOMPILERS = (

    ('text/x-scss', 'django_libsass.SassCompiler'),
)

STATICFILES_DIRS = [
    os.path.join(BASE_DIR, "staticfiles"),
]
STATICFILES_FINDERS = [
    'django.contrib.staticfiles.finders.FileSystemFinder',
    'django.contrib.staticfiles.finders.AppDirectoriesFinder',
    'compressor.finders.CompressorFinder'
]
STATIC_URL = '/static/'
STATIC_ROOT = os.path.join(BASE_DIR, 'static/')
These are all settings as per compressor’s documentation.
If you receive an error NameError: name 'os' is not defined, just head to the top of your settings.py file and add import os and save again.
Make sure Django server is running, and refresh the page.
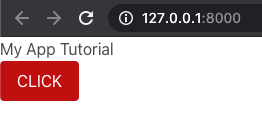
You will now see that the styling of My App Tutorial is different… Yes, it’s now using Bulma.

Let’s double check and add into the index.html
<button class="button is-primary"> CLICK </button>

Awesome, a button with Bulma styling.
Lastly, you can now configure Sass styles within the main.scss file.
Example, want to change global Primary colour from Bulma’s default colours.
You can do it as follows:
$primary: #BF0F0F;

@import './bulma/bulma.sass';
Refresh the page, and boom!
Epic! Now we’ve got a Sass ready Full Stack Django development environment.
There’s a few tricker things when it comes to deploying to production, especially if you want to use something like Heroku. You will have to use Whitenoise as well to serve the static files and enableoffline compression. You will have to change quite a bit of settings insettings.py.
I’m still to simplify the settings a bit as it’s basically all copy and paste from all over Stackoverflow till it finally worked, but recently to deploy a site on Heroku for Production, I did the following:
STATIC_ROOT = os.path.join(BASE_DIR, 'static')
STATIC_URL = "/static/"
STATICFILES_DIRS = [os.path.join(BASE_DIR, 'staticfiles')]
STATICFILES_FINDERS = [
    "django.contrib.staticfiles.finders.FileSystemFinder",
    "django.contrib.staticfiles.finders.AppDirectoriesFinder",
]

STATICFILES_STORAGE = "whitenoise.storage.CompressedManifestStaticFilesStorage"

STATICFILES_FINDERS += ["compressor.finders.CompressorFinder"]

COMPRESS_PRECOMPILERS = [("text/x-scss", "django_libsass.SassCompiler")]
COMPRESS_CACHEABLE_PRECOMPILERS = (("text/x-scss", "django_libsass.SassCompiler"),)
COMPRESS_ENABLED = True
if DEBUG == True:
    COMPRESS_OFFLINE = False
else:
    COMPRESS_OFFLINE = True
# COMPRESS_OFFLINE = True
COMPRESS_STORAGE = "compressor.storage.GzipCompressorFileStorage"
COMPRESS_URL = STATIC_URL
Have fun and if you want to download the whole project, grab it on Github